WordPress connection through HelloWoofy allows you to schedule blog posts!
Step 1:
Log into your WordPress admin panel. Typically it is https://yourdomain.com/wp-admin.
Step 2:
Navigate to Plugins
Step 3:
Search for “HelloWoofy.com”
Step 4:
Install our WordPress plugin to your site. Then click “HelloWoofy” on the left management panel.
Step 5:
Copy the entire API-key from the WordPress admin panel from the HelloWoofy tab.
Step 6:
Go to HelloWoofy.com and sign in.
Step 7:
Go to your settings, and click “add an account to this calendar”. Click WordPress.
Step 8:
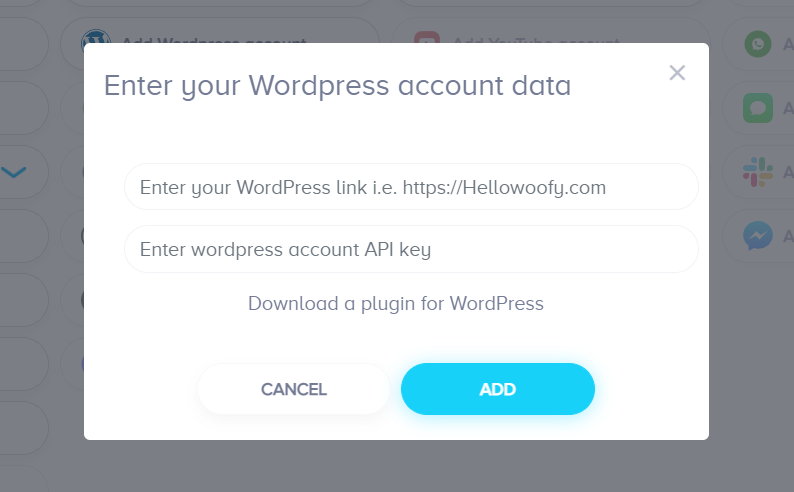
Fill out the form that appears when you click “WordPress”. Then click “Add”.
